Saturday 9 September 2017

Day 34 - Shaping the saddle and the nut, putting on the strings and attaching the arm rest

I marked the machine head drill holes with a brad point, drilled the holes for the screws, and fitted the machine heads to the headstock.


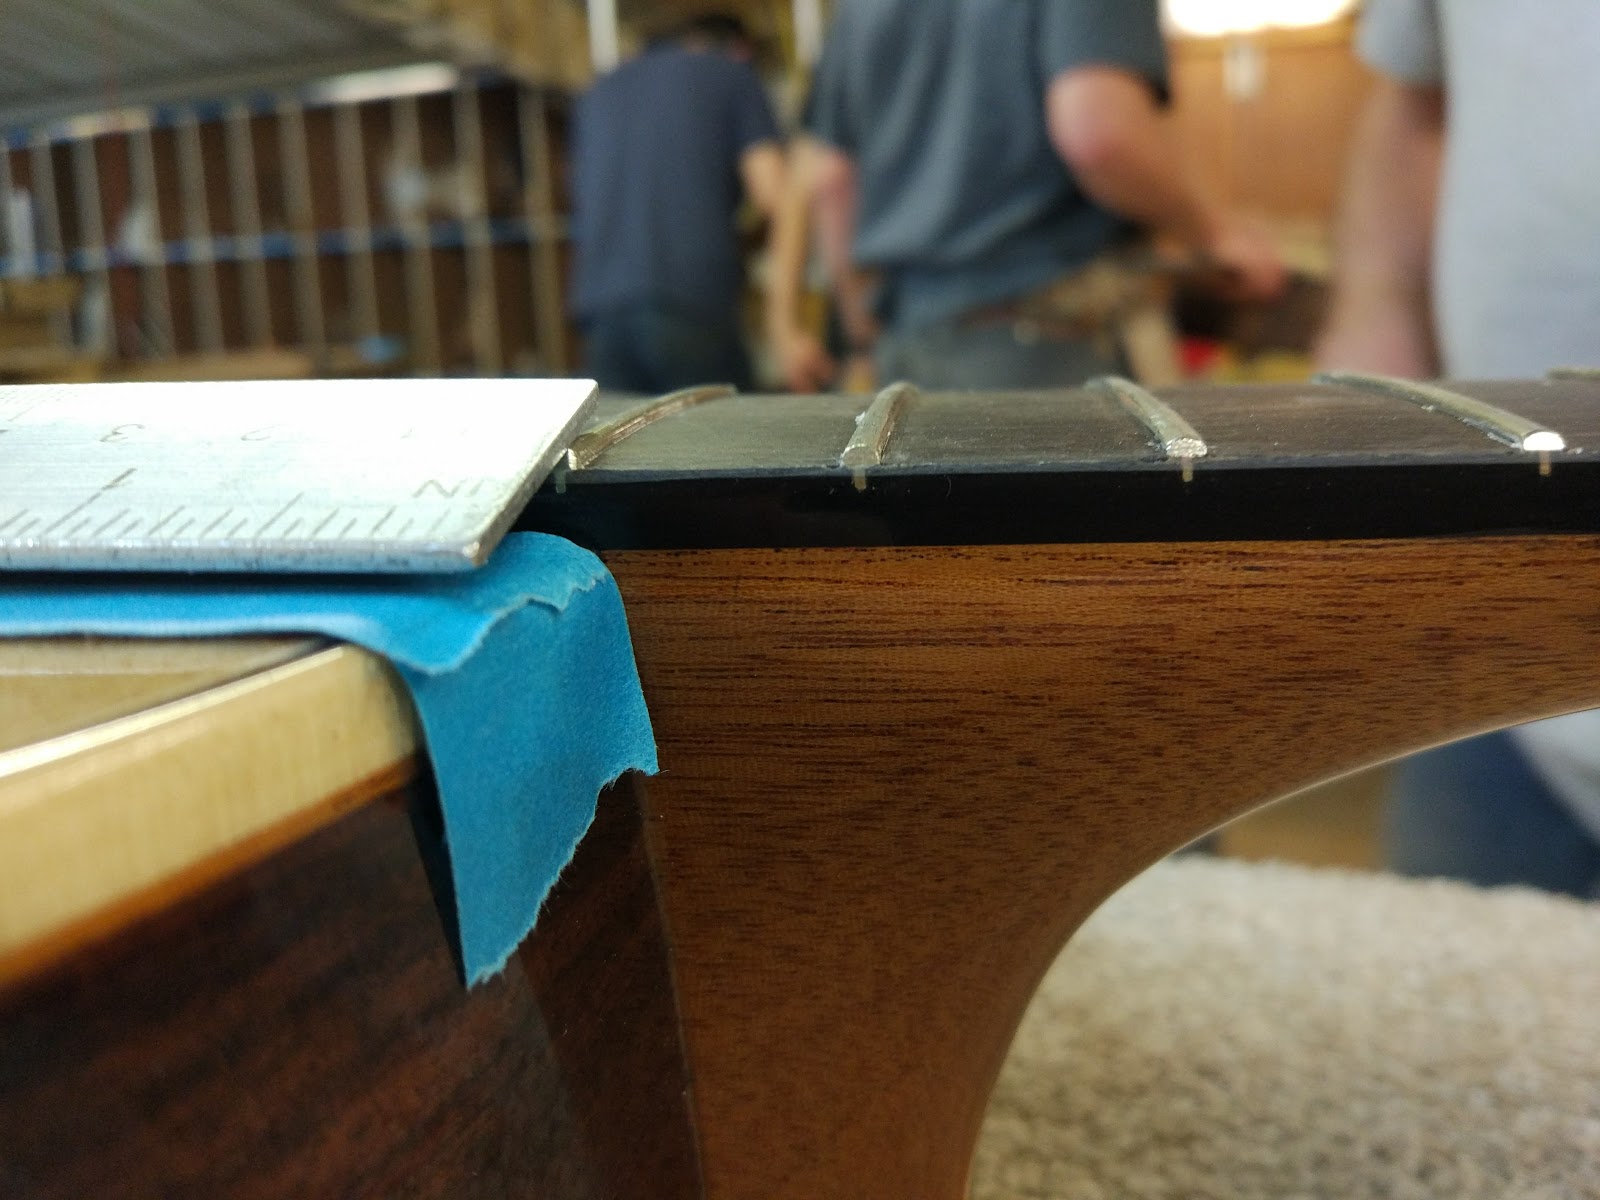
I sanded the nut just thin enough to fit into place.


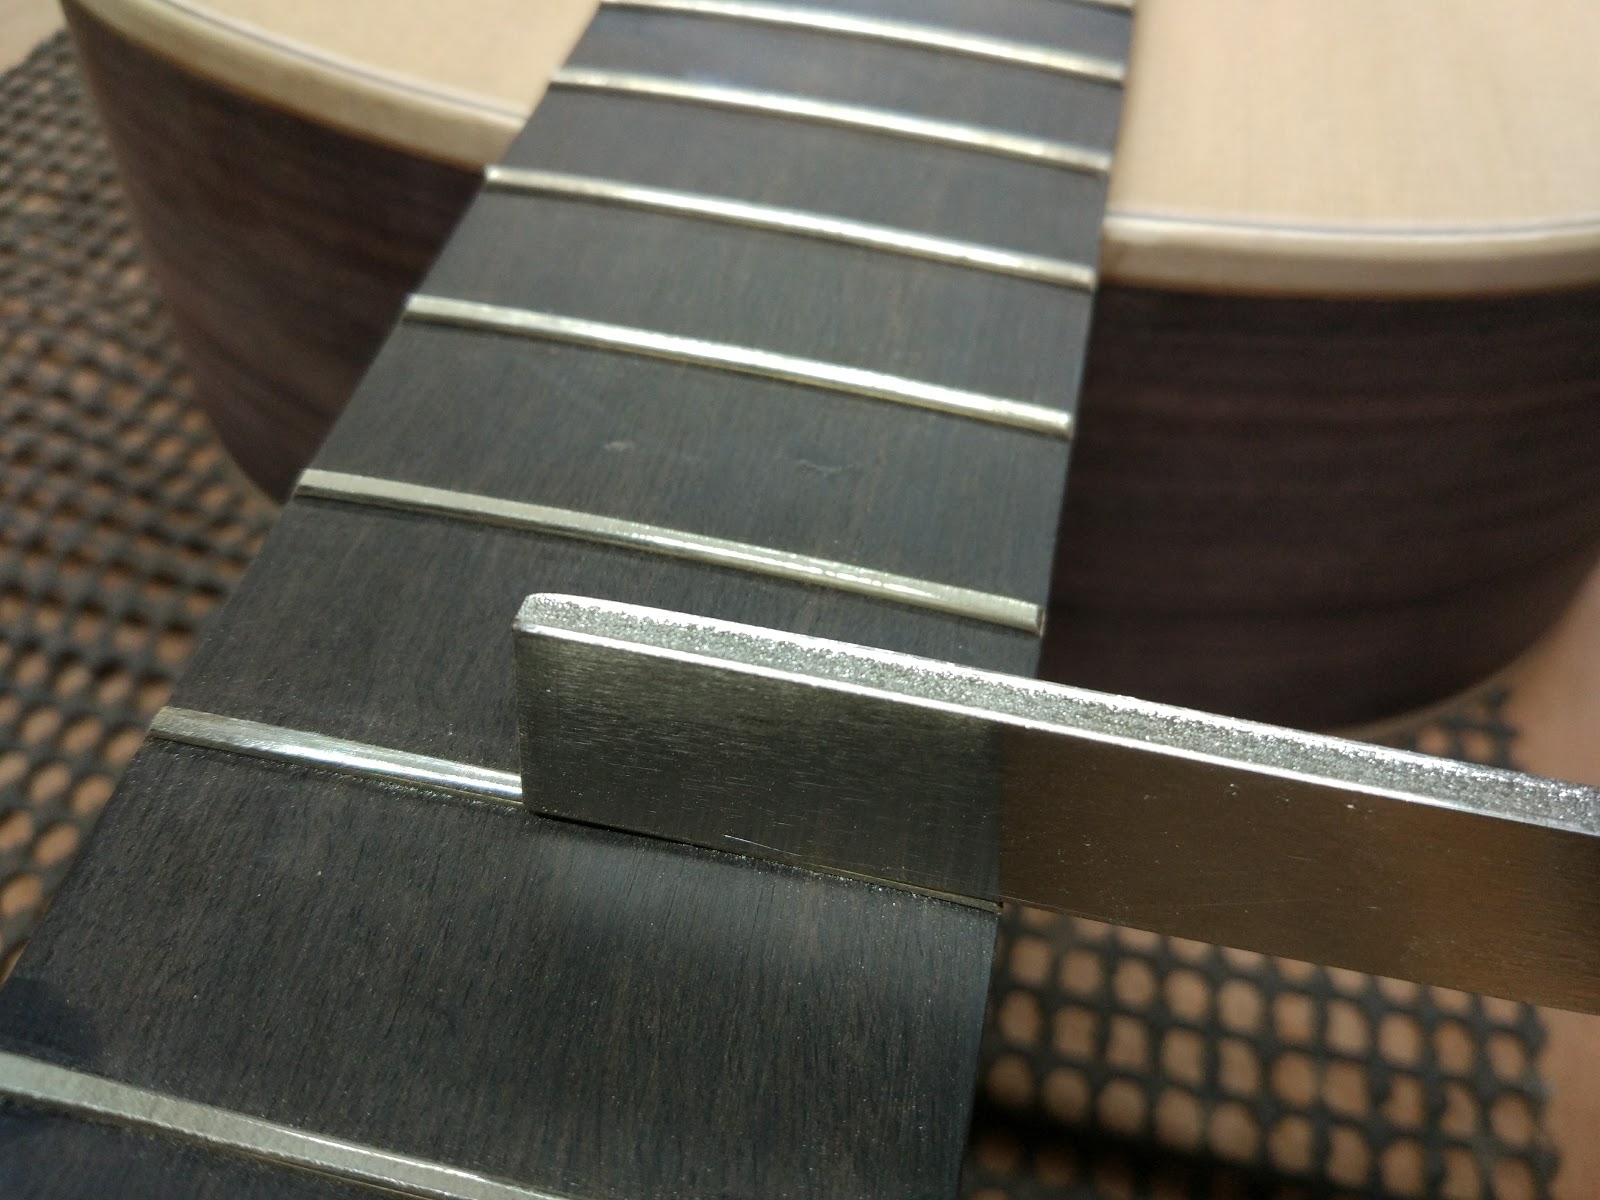
I sanded a 20 inch radius into the nut and shaped it to the correct height.


I shaped the saddle to fit the bridge and sanded a 20 inch radius into it.


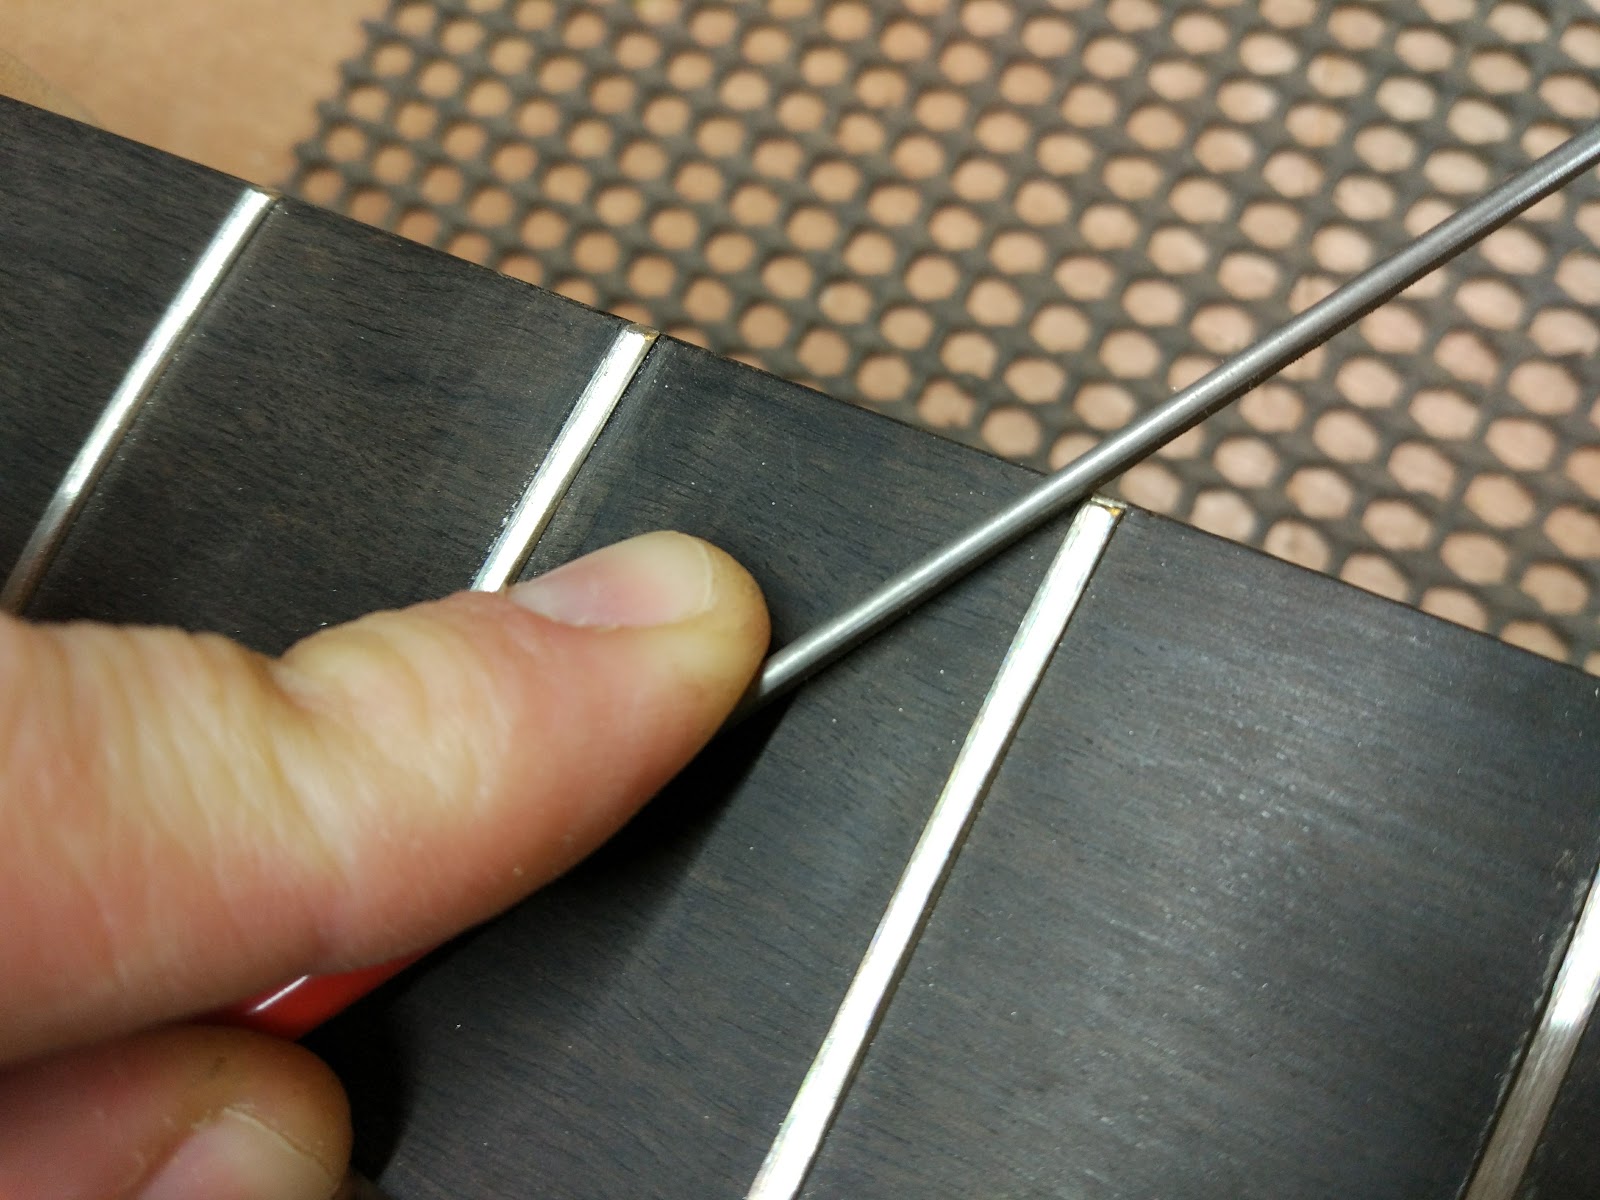
I filed the grooves for the strings and put the strings on.


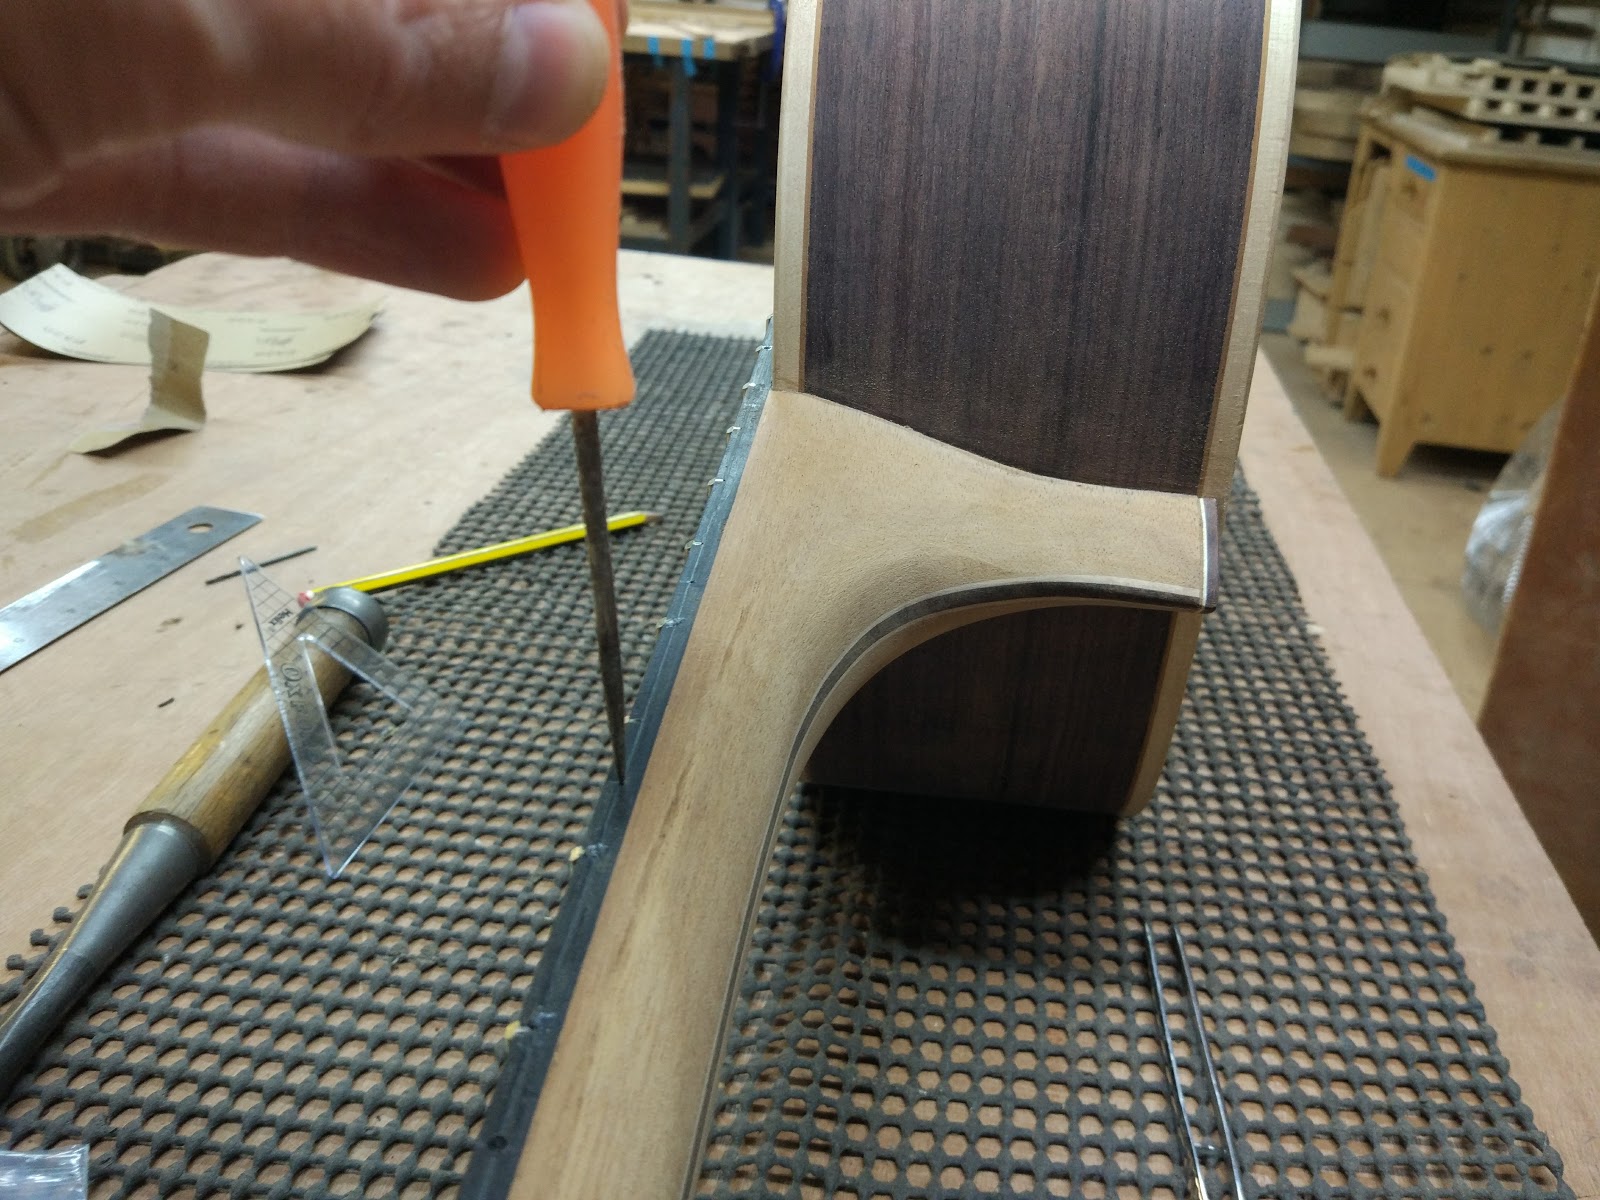
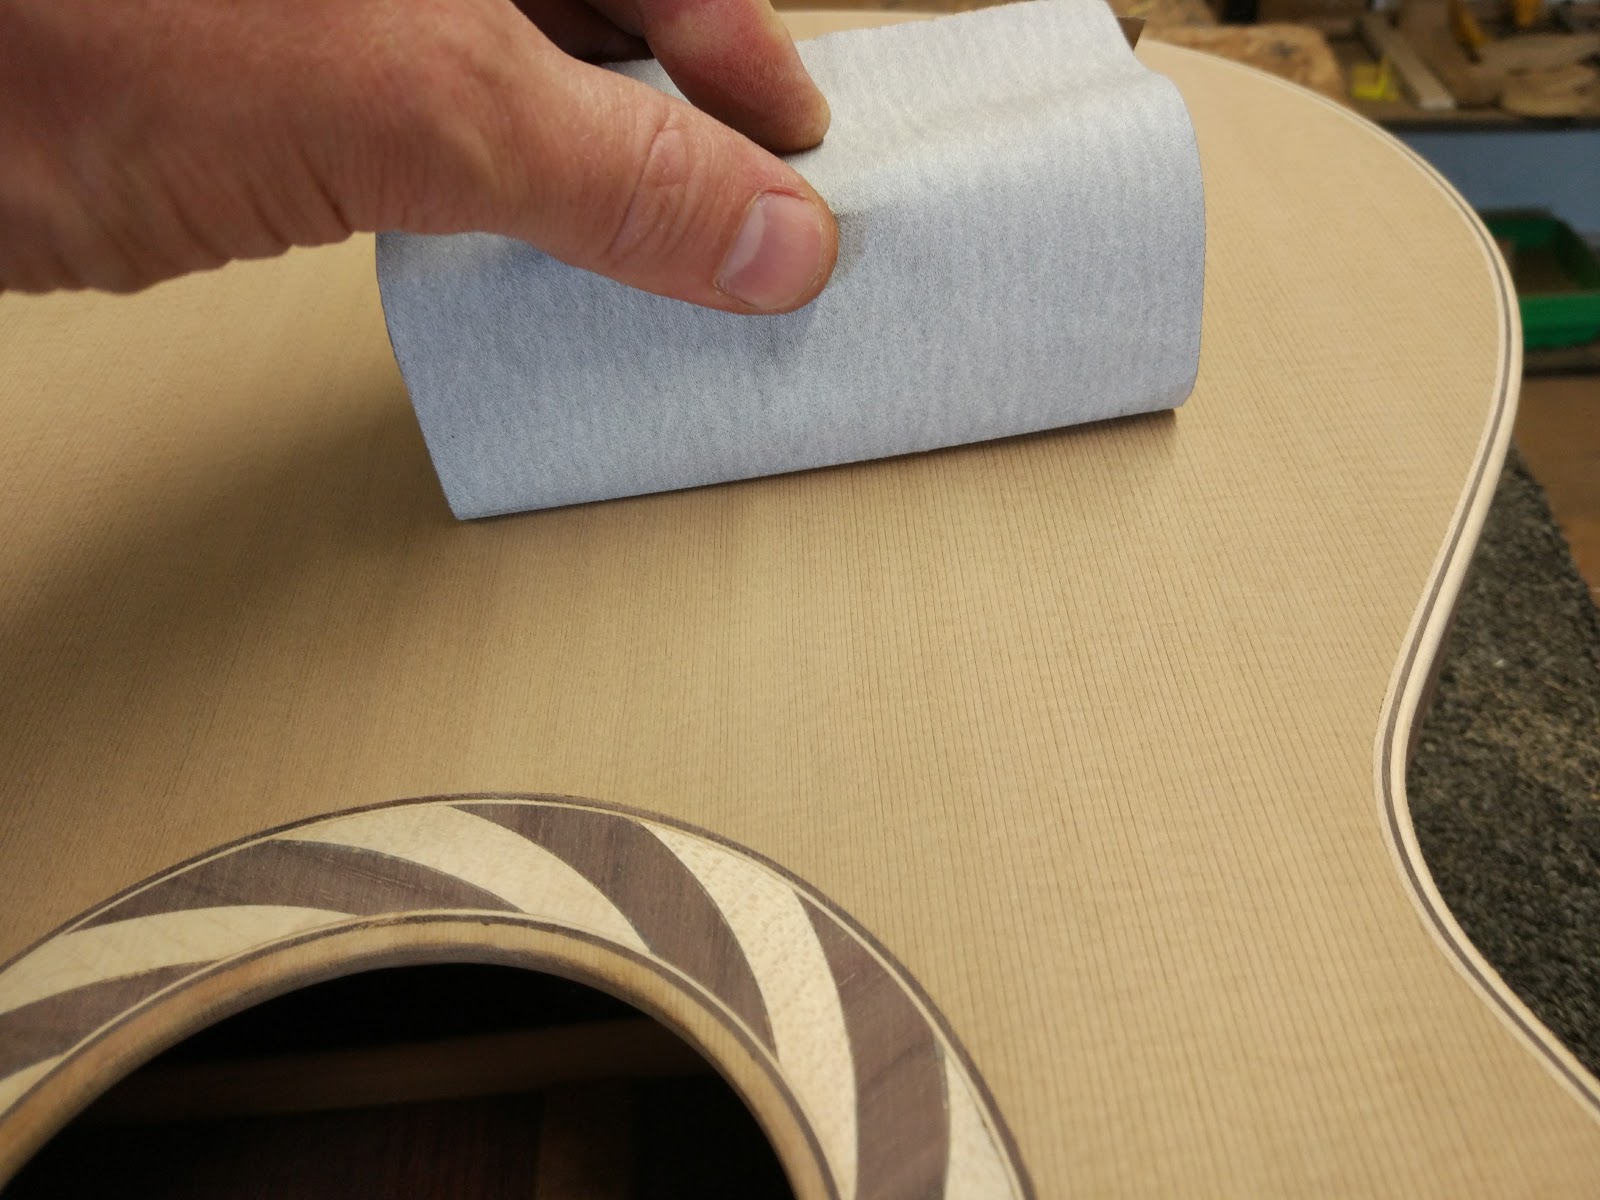
I scored the lacquer with a scalpel and glued the arm rest into place with epoxy.


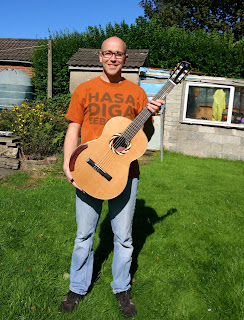
I played the guitar.


Super stoked!


Sunday 3 September 2017

Day 33 - Fitting the bridge

The guitar has been lacquered to a high gloss finish.


I filed the edges of the fretboard so as to cause a break along the lacquer. This prevents the lacquer from chipping when i remove the tape.


I removed the excess lacquer from the fretboard with a scalpel.


I measured the position for the bridge and marked it with tape.


I rubbed the bridge with steel wool to give it a satin finish.


I scored the lacquer around the bridge.


I removed the lacquer from the area where the bridge will go.


I made cauls for the bridge.


I clamped the bridge to the soundboard using the bridge caul that i had made previously for under the soundboard as well as the top bridge cauls.


Saturday 19 August 2017

Day 32 - Inserting fret markers, shaping frets, and final sanding.

I measured and marked the fret marker locations and then created indentations with a brad point.


I drilled the holes for the fret markers.


I inserted and glued the fret markets and then sanded then smooth.


I filed the frets with a fret-crowning file until they had a rounded, curved top.


I filed the ends of the frets to make them smooth.


I filled the joint between the heel cap and the body with epoxy.


I sanded the whole guitar down in incremental stages from 80, 120, 180, 240, and 320-grained sand-paper.


Saturday 12 August 2017

Day 31 - Cutting the sound port and filing the headstock

I glued the heel cap to the bottom of the heel.


I shaped the headstock so that the strings will not touch the wood between the nut and the tuning keys.


I created a cardboard template for where the sound port will go.


I dried holes to create a rough cut of the sound port.


I smoothed the sound port with a drum sander attached to a drill.


Bonus! I can see inside the guitar through the sound port.


There was a small gap between the side and the binding so I filled this with epoxy and rosewood dust.


I filled the gaps under the frets with epoxy and ebony dust.